Step 1 – Summary of Project
I made a presentation about myself to demonstrate that I can, and understand how to create a presentation. First we brainstormed things about our self, for example, I like rollerblading and League of legends is my favorite game. Then we picked things to put onto a story board about our self. Once the story board was complete we turned each square into a slide on Google slides or Prezi.com. The project was also to show that we can get things done on time, and done well. That we pay attention to detail and can problem solve instead of always asking the teacher for help.
Step 2 – What is Good Presentation?
From the Dick Hardt Presentation and Scott Le Duc’s presentation I learned about how to make a good, interesting presentation that they won’t forget. I also learned how to cite my sources for pictures or videos correctly. And how to find pictures that are labeled for reuse.
- Contrast (White against a black background)
- Lots of slides (Slides are free, use as many as you need)
- Just a picture or words (You don’t want to overload your audience)
- Few (Only use a few words per slide)
- Simple
- Relatable (Have something you and your audience can relate to)
- Interesting, fun, humorous (Nobody likes a boring presentation)
Step 3 – Brainwriting and Brainstorming Ideas
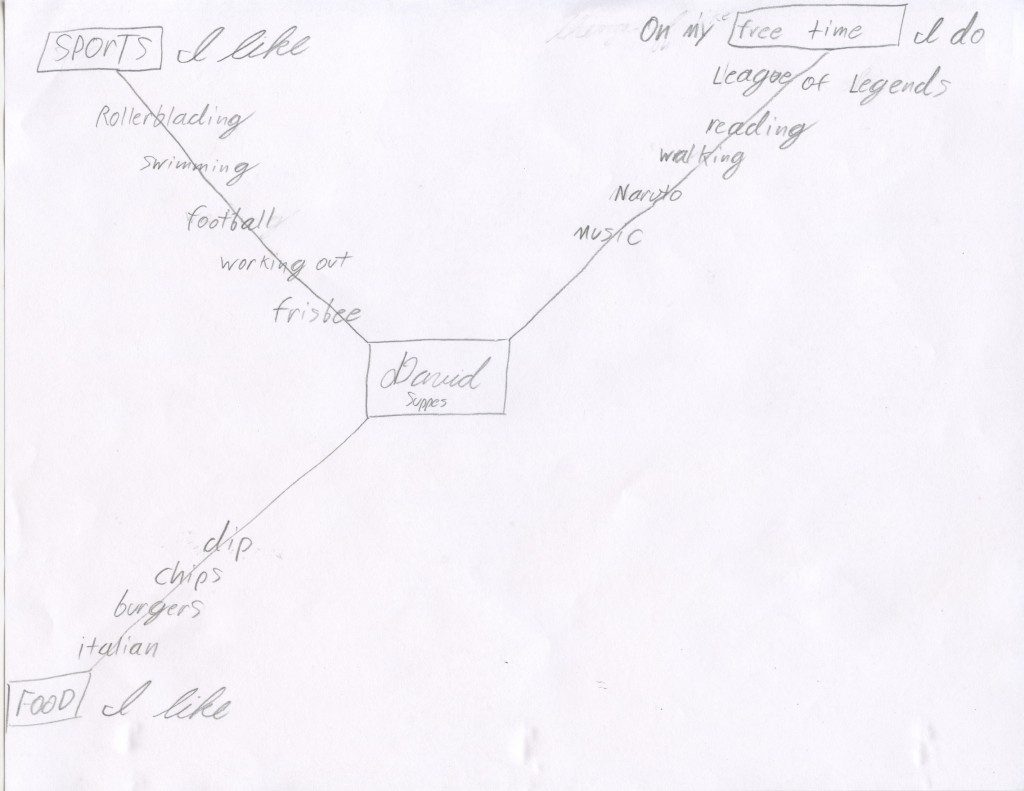
We brainstormed what we like, what we like to do and things about our self. We did this to start getting an idea of what we would like to add onto our presentation about our self. We used paper because it is easy to manage, we can write anywhere and when you write on paper you remember it better than on a PC or device. Then while we are doing the next step, the storyboard, we have a visual reminder to help us from losing focus and keep on task.
Step 4 – Creating the Storyboard
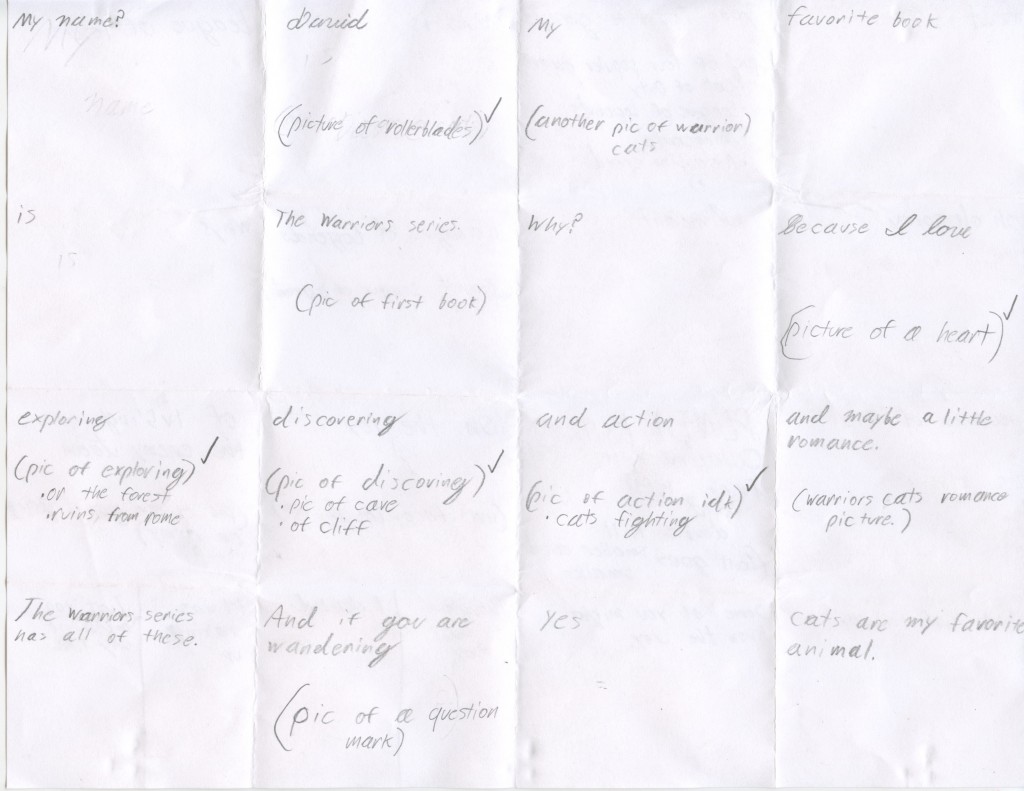
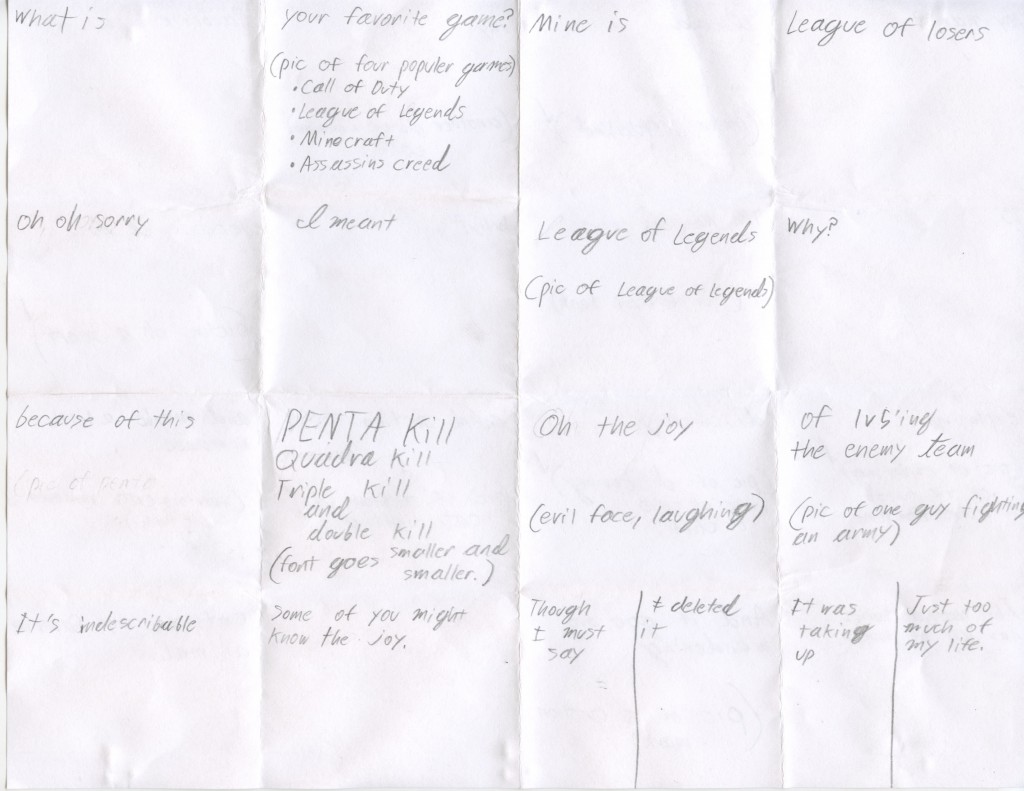
After we brainstormed, I made a storyboard about myself using ideas from the brainstorm. Each folded square in the picture above is to be turned into a slide in my presentation. We did it in this way with paper so that we could easily ask others on what to improve and then change it. Once I began creating the presentation, I could quickly do it instead of thinking about what to add to each slide. All I have to do is copy from the storyboard, it makes it simple and easy.
Step 5 – Gathering and Citing Images
When we began gathering images for our presentation, we needed to find material that had already been given permission to reuse when they published it. Copyright is basically that the creator has right to the material, he owns it, and you can’t make copies or modifications unless given permission. That is why we used Creative Commons. Creative Commons is to help you find material that has been given permission to reuse by the creator. Whether you have permission or not, you need to always cite your resources/material with four pieces of information. The date on which you got the material, the site you got it from, who the author or creator is, and last but not least. The name of the file or material.
Step 6– Creating the Master Slide
Most if not everyone used Google Slides for their presentation. But I instead used Prezi.com.
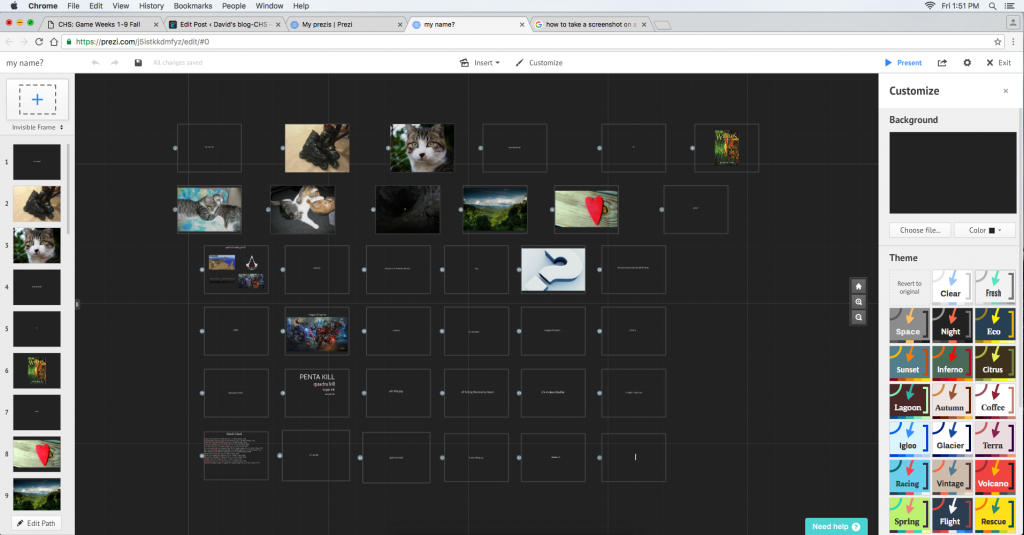
When creating a presentation in Prezi.com it’s similar to Google Slides. Instead of a master slide to change the background or text boxes of all slides like in Google Slides. Prezi.com has a customize button in which I can change the entire color scheme of the presentation. Or I can even make an image the background. I used this process over Google Slides because I’m more use to it, I can work much faster when I’m not trying to figure things out. And I find it really easy to manage, add images, slides or text boxes. Unlike Google Slides where you just go from slide to slide, In Prezi.com I can move the slides anywhere I want on the presentation. And…if you move the slides a distance apart or even put one upside down they do a cool/fancy little spin.
Step 7 – Sharing the Presentation
I used this process of sharing, Prezi.com, because it’s really the same as SlideShare.net but less steps. Like SlideShare.net, it can be viewed by anyone, anywhere. You create the presentation in edit mode then go to present mode and copy the URL while in present mode then paste it where you like, simple as that.
Step 8 – Preparing to Present/Pitch
(leave for Scott Le Duc to talk about, aka leave step 8 alone)
- Watch How to Present with Power and Poise
- Compose a paragraph highlighting how you prepared for your presentation
- REMINDER: Preparation is going through the motions of the real presentation, over and over. For every minute of presentation you need at least 20 minutes of preparation. Have an audience (mom, dad, friends, etc.) listen and give feedback. Record a video of yourself, watch it, and improve your delivery. Lastly, AND MOST IMPORTANT, visit the place you will be presenting from WELL BEFORE your presentation time to get used to the environment. Look for things that could interfere with your delivery; bad lighting on the screen, weird placement of the podium, having to hold a microphone while you present, etc.
Step 9 – What I Learned
I learned to create a presentation that keeps your audience’s interest and a few ways to help them remember your presentation afterwards instead of, huh? What was he talking about? For example, emotions, humor, good stories and visuals that they can relate to. I learned how cite correctly and how to find material that I can reuse or modify. I learned taking little steps like brainstorming then the storyboard, then creating the presentation is more efficient then one huge step of just making the presentation from blank. Why? Because with the brainstorm you can think of ideas thoughtfully in advance. Then taking some of the ideas to the storyboard. With the story board you can easily ask others for advice or ideas to make better your presentation. And you can quickly erase things and add something different. Then making a presentation from the storyboard is quick and easy. I also learned that there are always different ways of doing things when you get stuck. For example, when I used Prezi.com instead of Google Slides I didn’t know that we would have to then move the presentation to SlideShare.net. So when I tried to upload Prezi.com to SlideShare.net it wouldn’t accept it. I sorta panicked for a few minutes like, would I have to remake my presentation on Google Slides? But then, while I was looking through the example presentation blog post. I noticed that it said that we were using SlideShare.net so that anybody could view the presentation from anywhere. Because Google Slides is more like a file than a site so you need to upload it to SlideShare.net so others can view it. And I was like, wait, but can’t anybody just view my presentation from Prezi.com? And I was correct, it works just as good as SlideShare.net. So I guess I didn’t follow directions very well, but I did manage to do just the same but with one less step. I did just Prezi.com, while you have to do Google Slides then SlideShare.net.